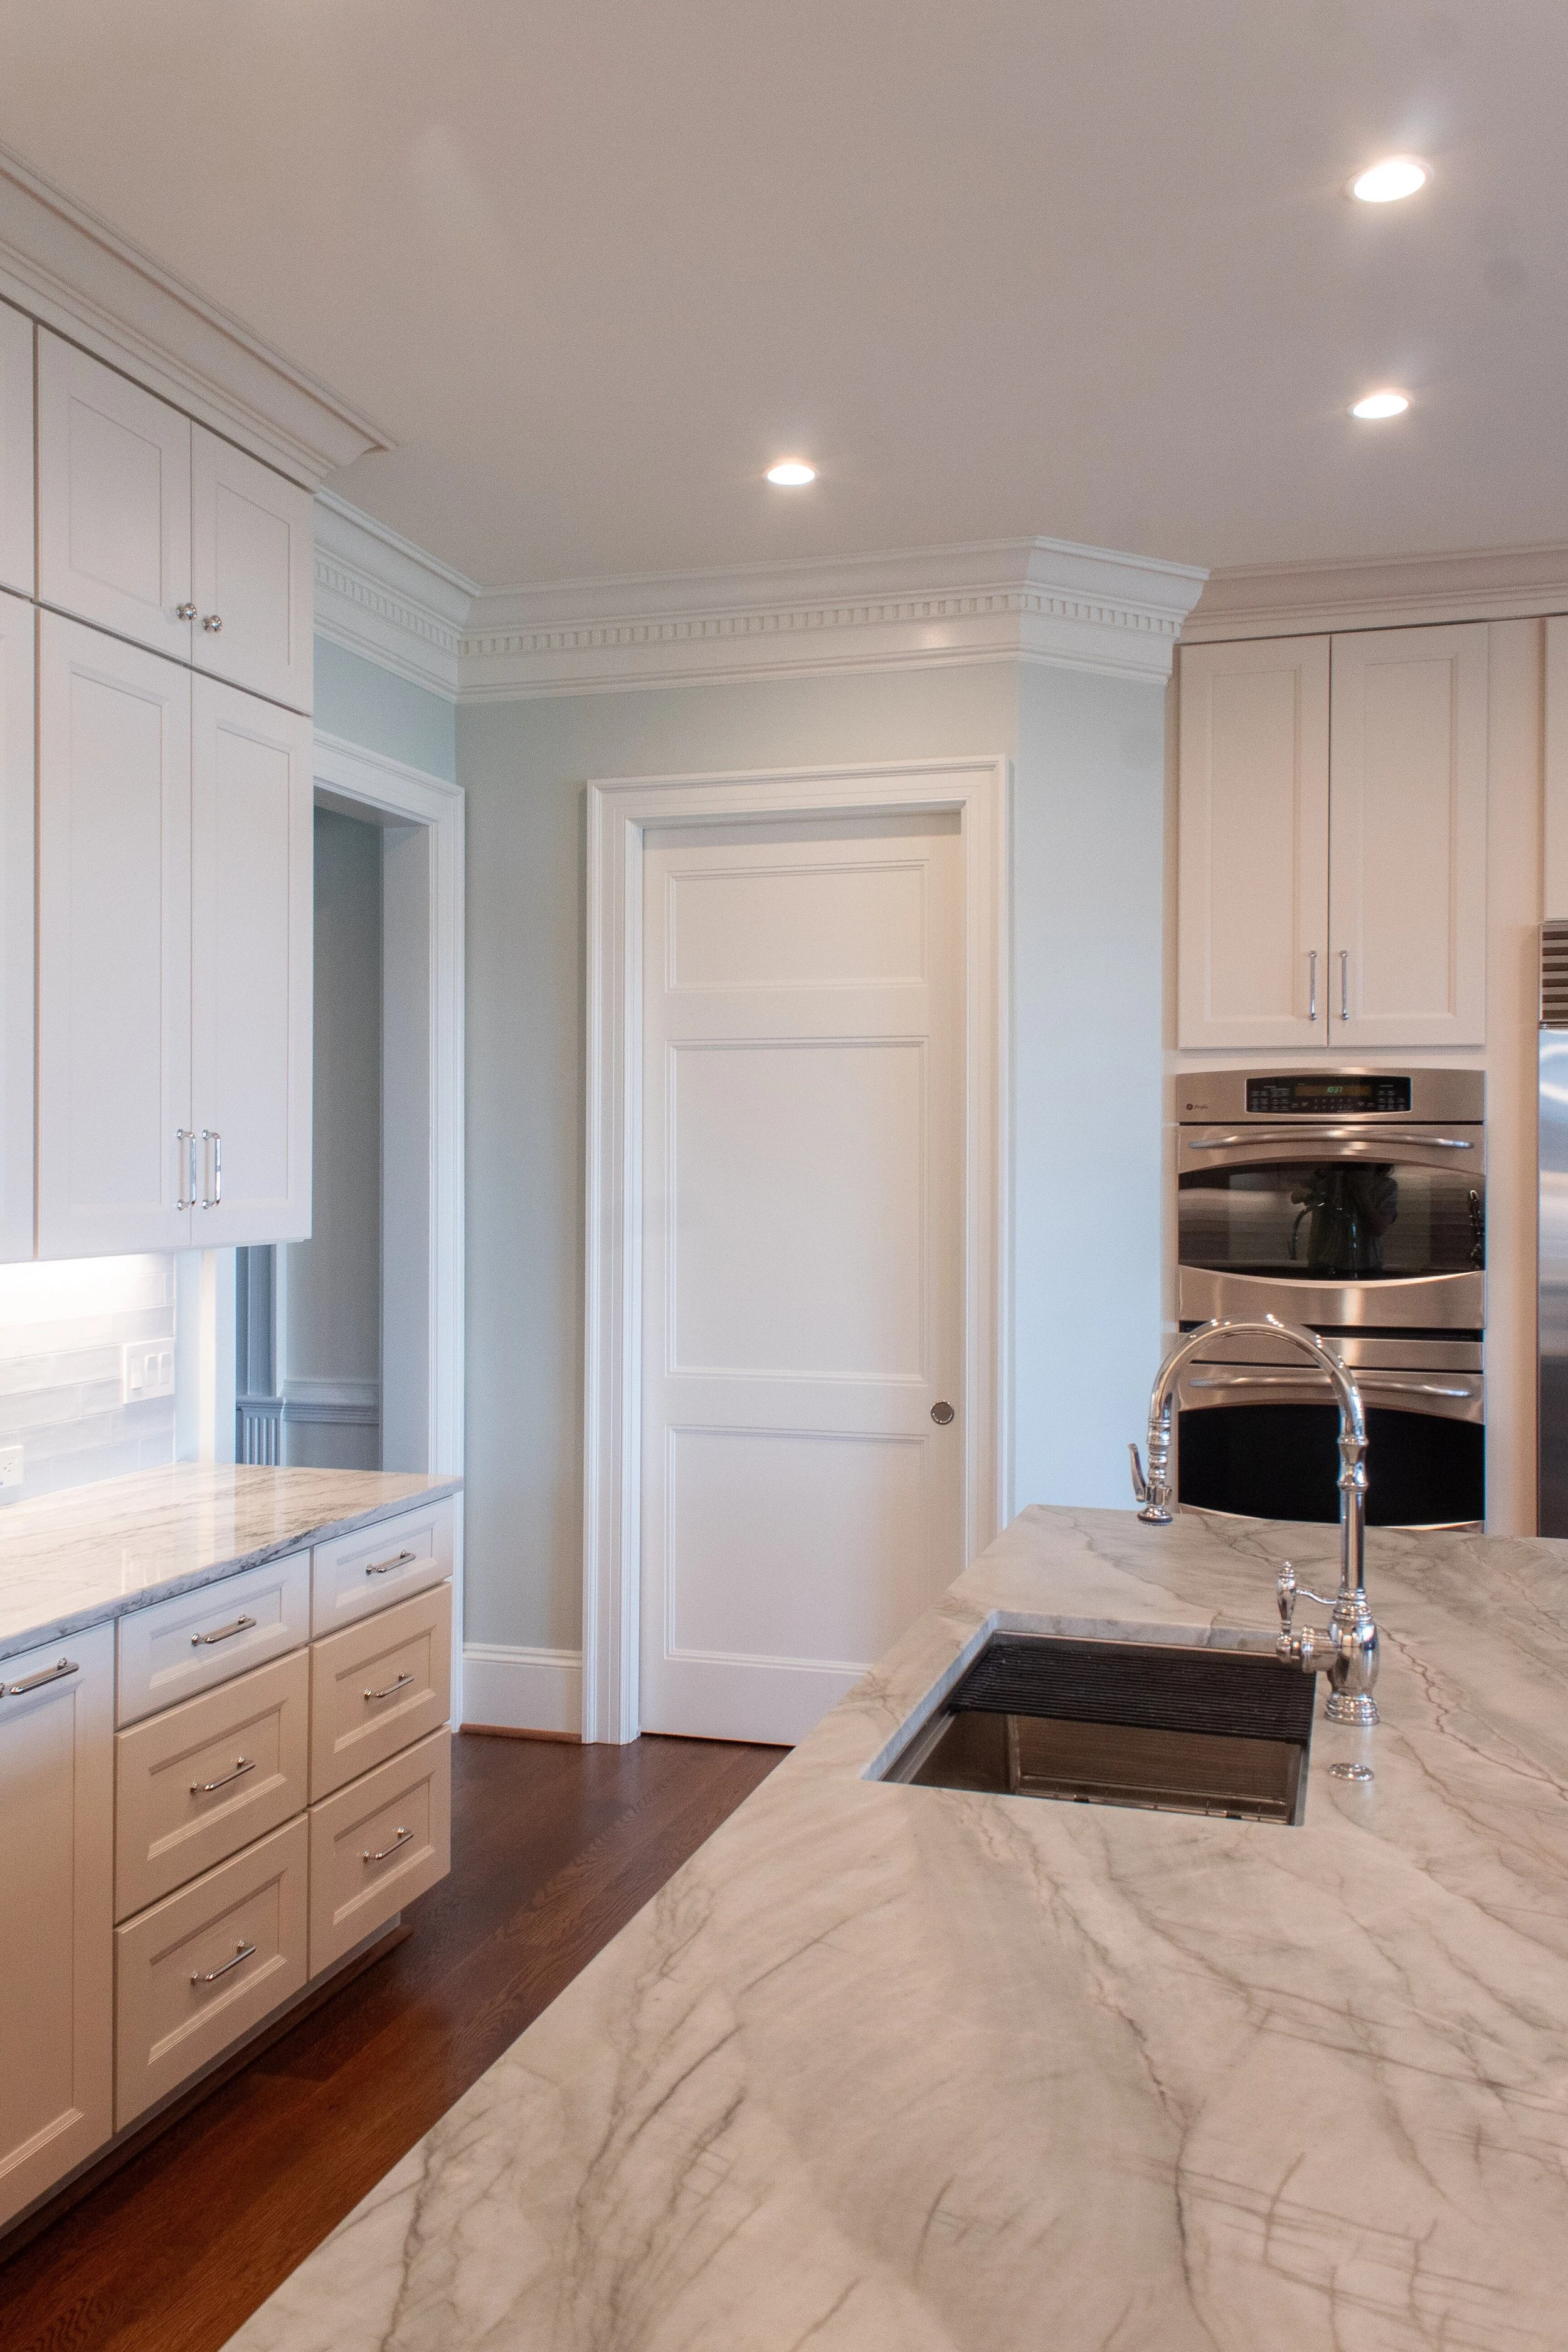
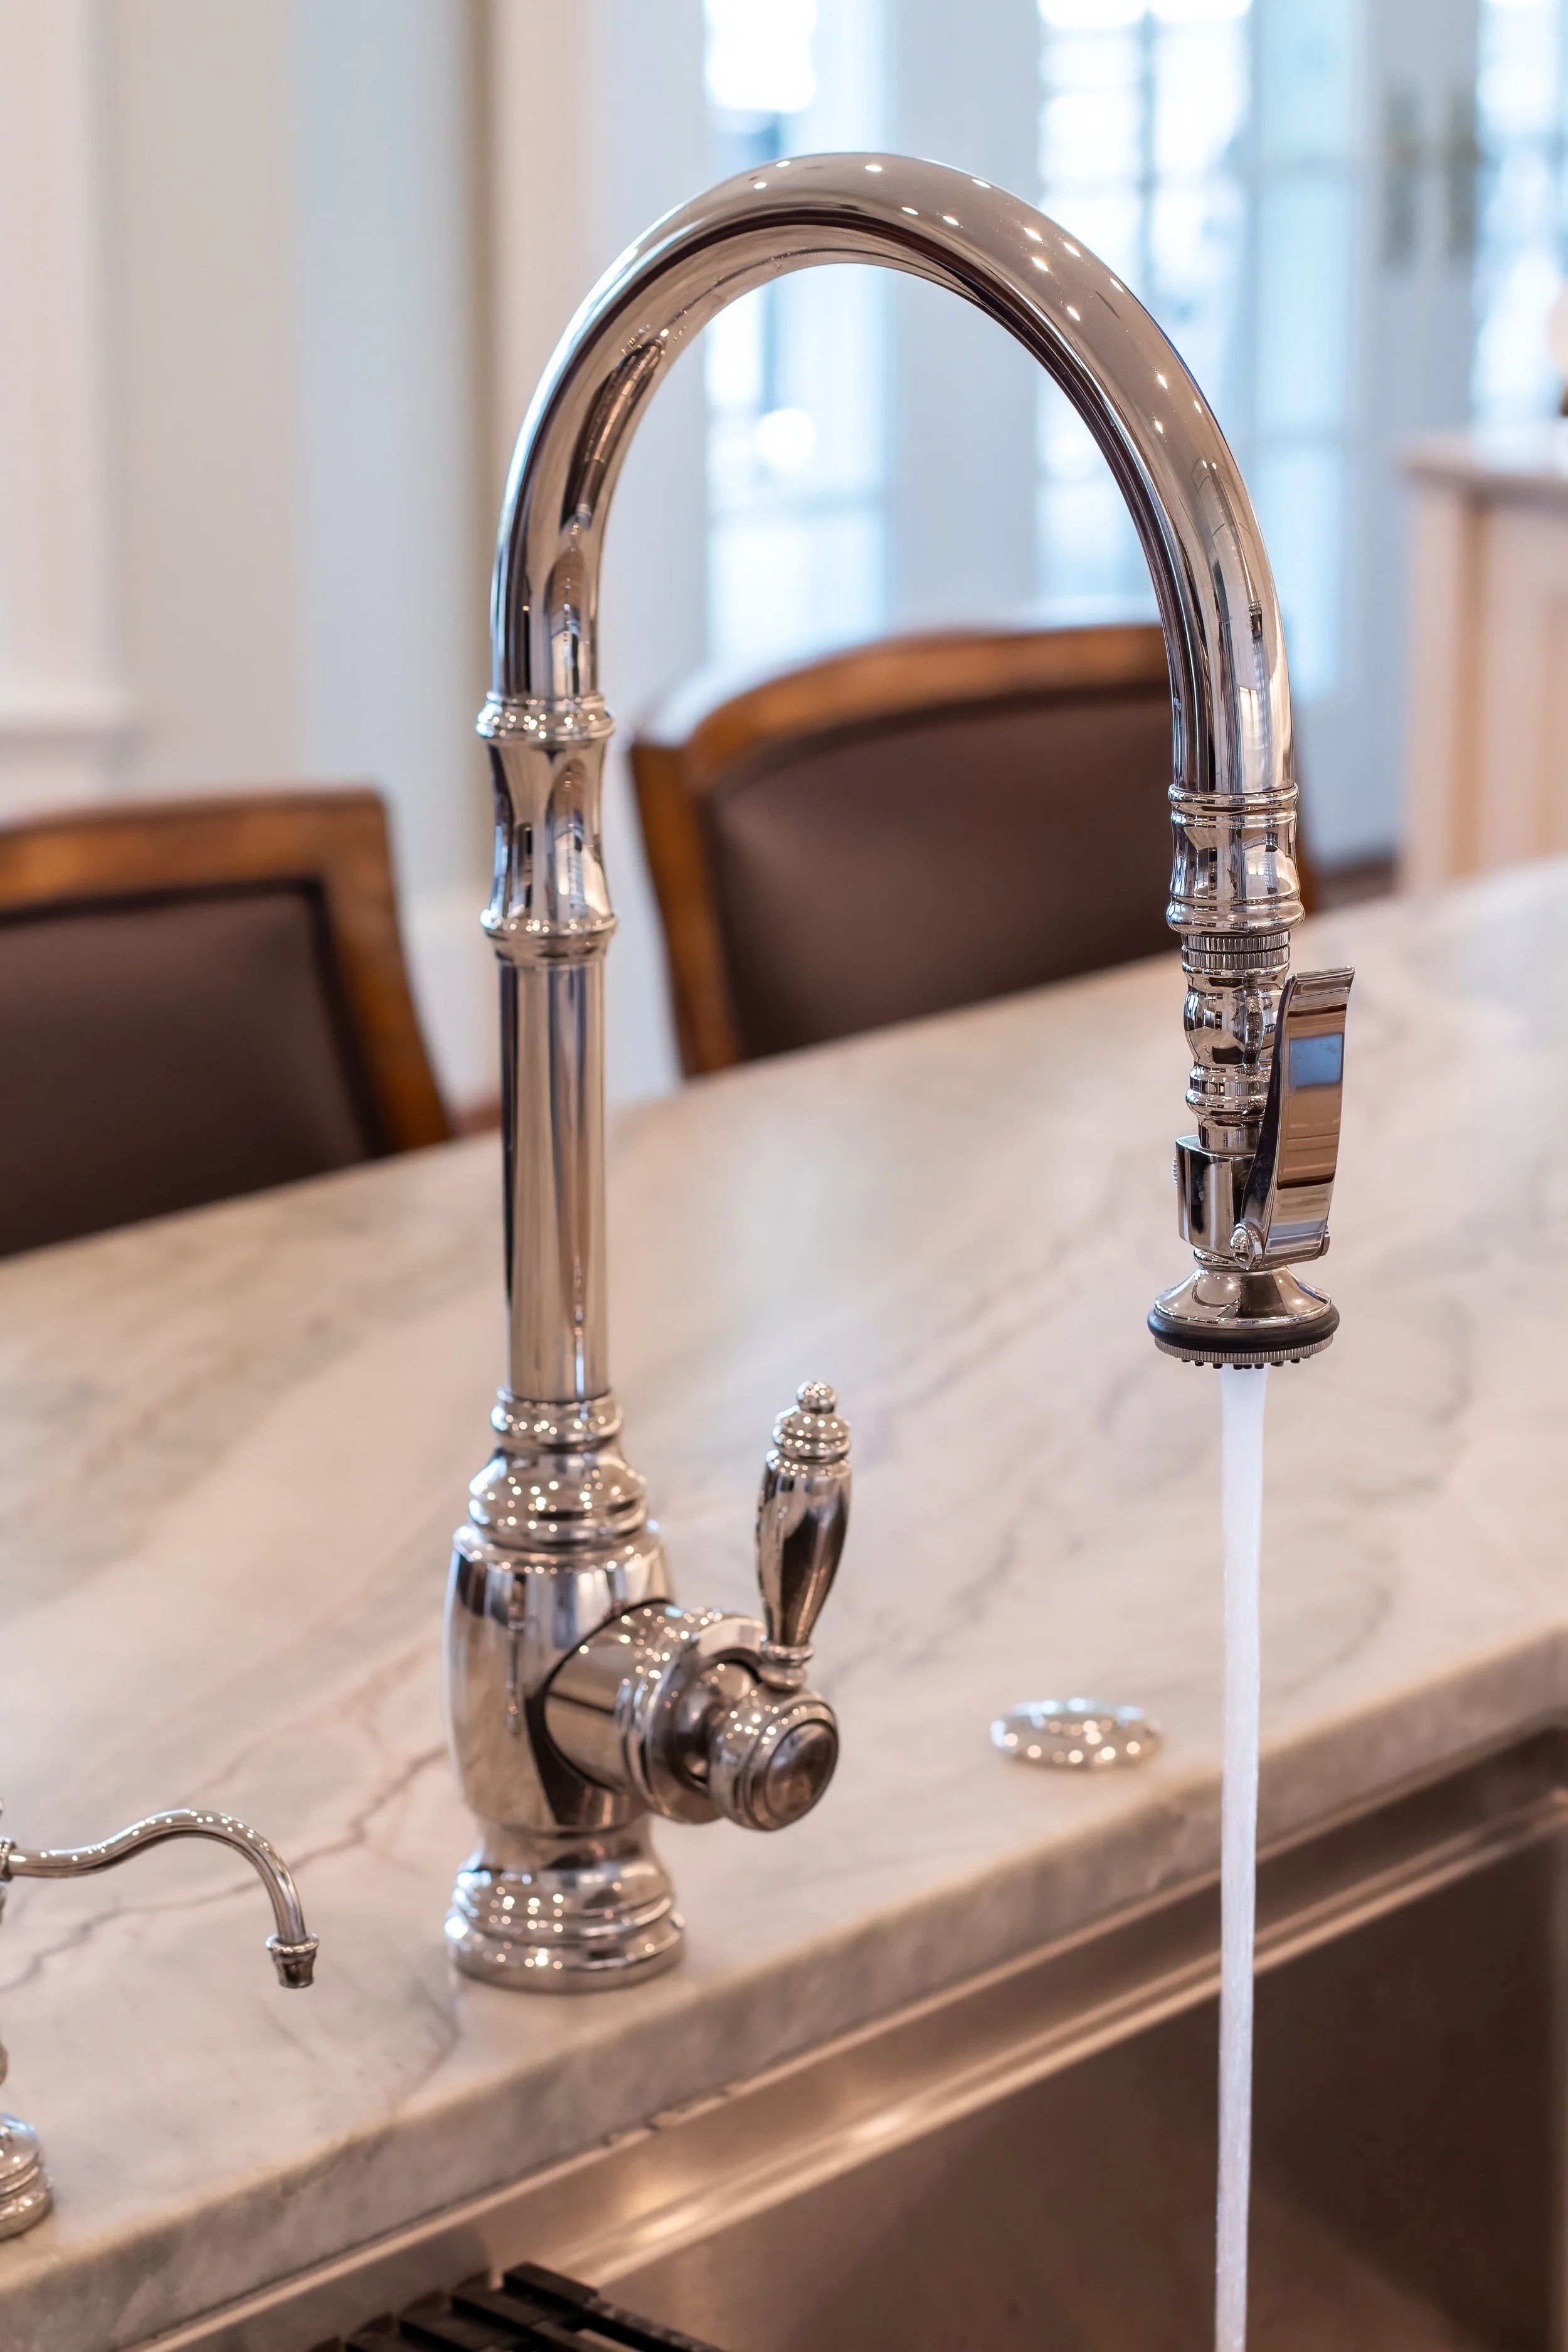
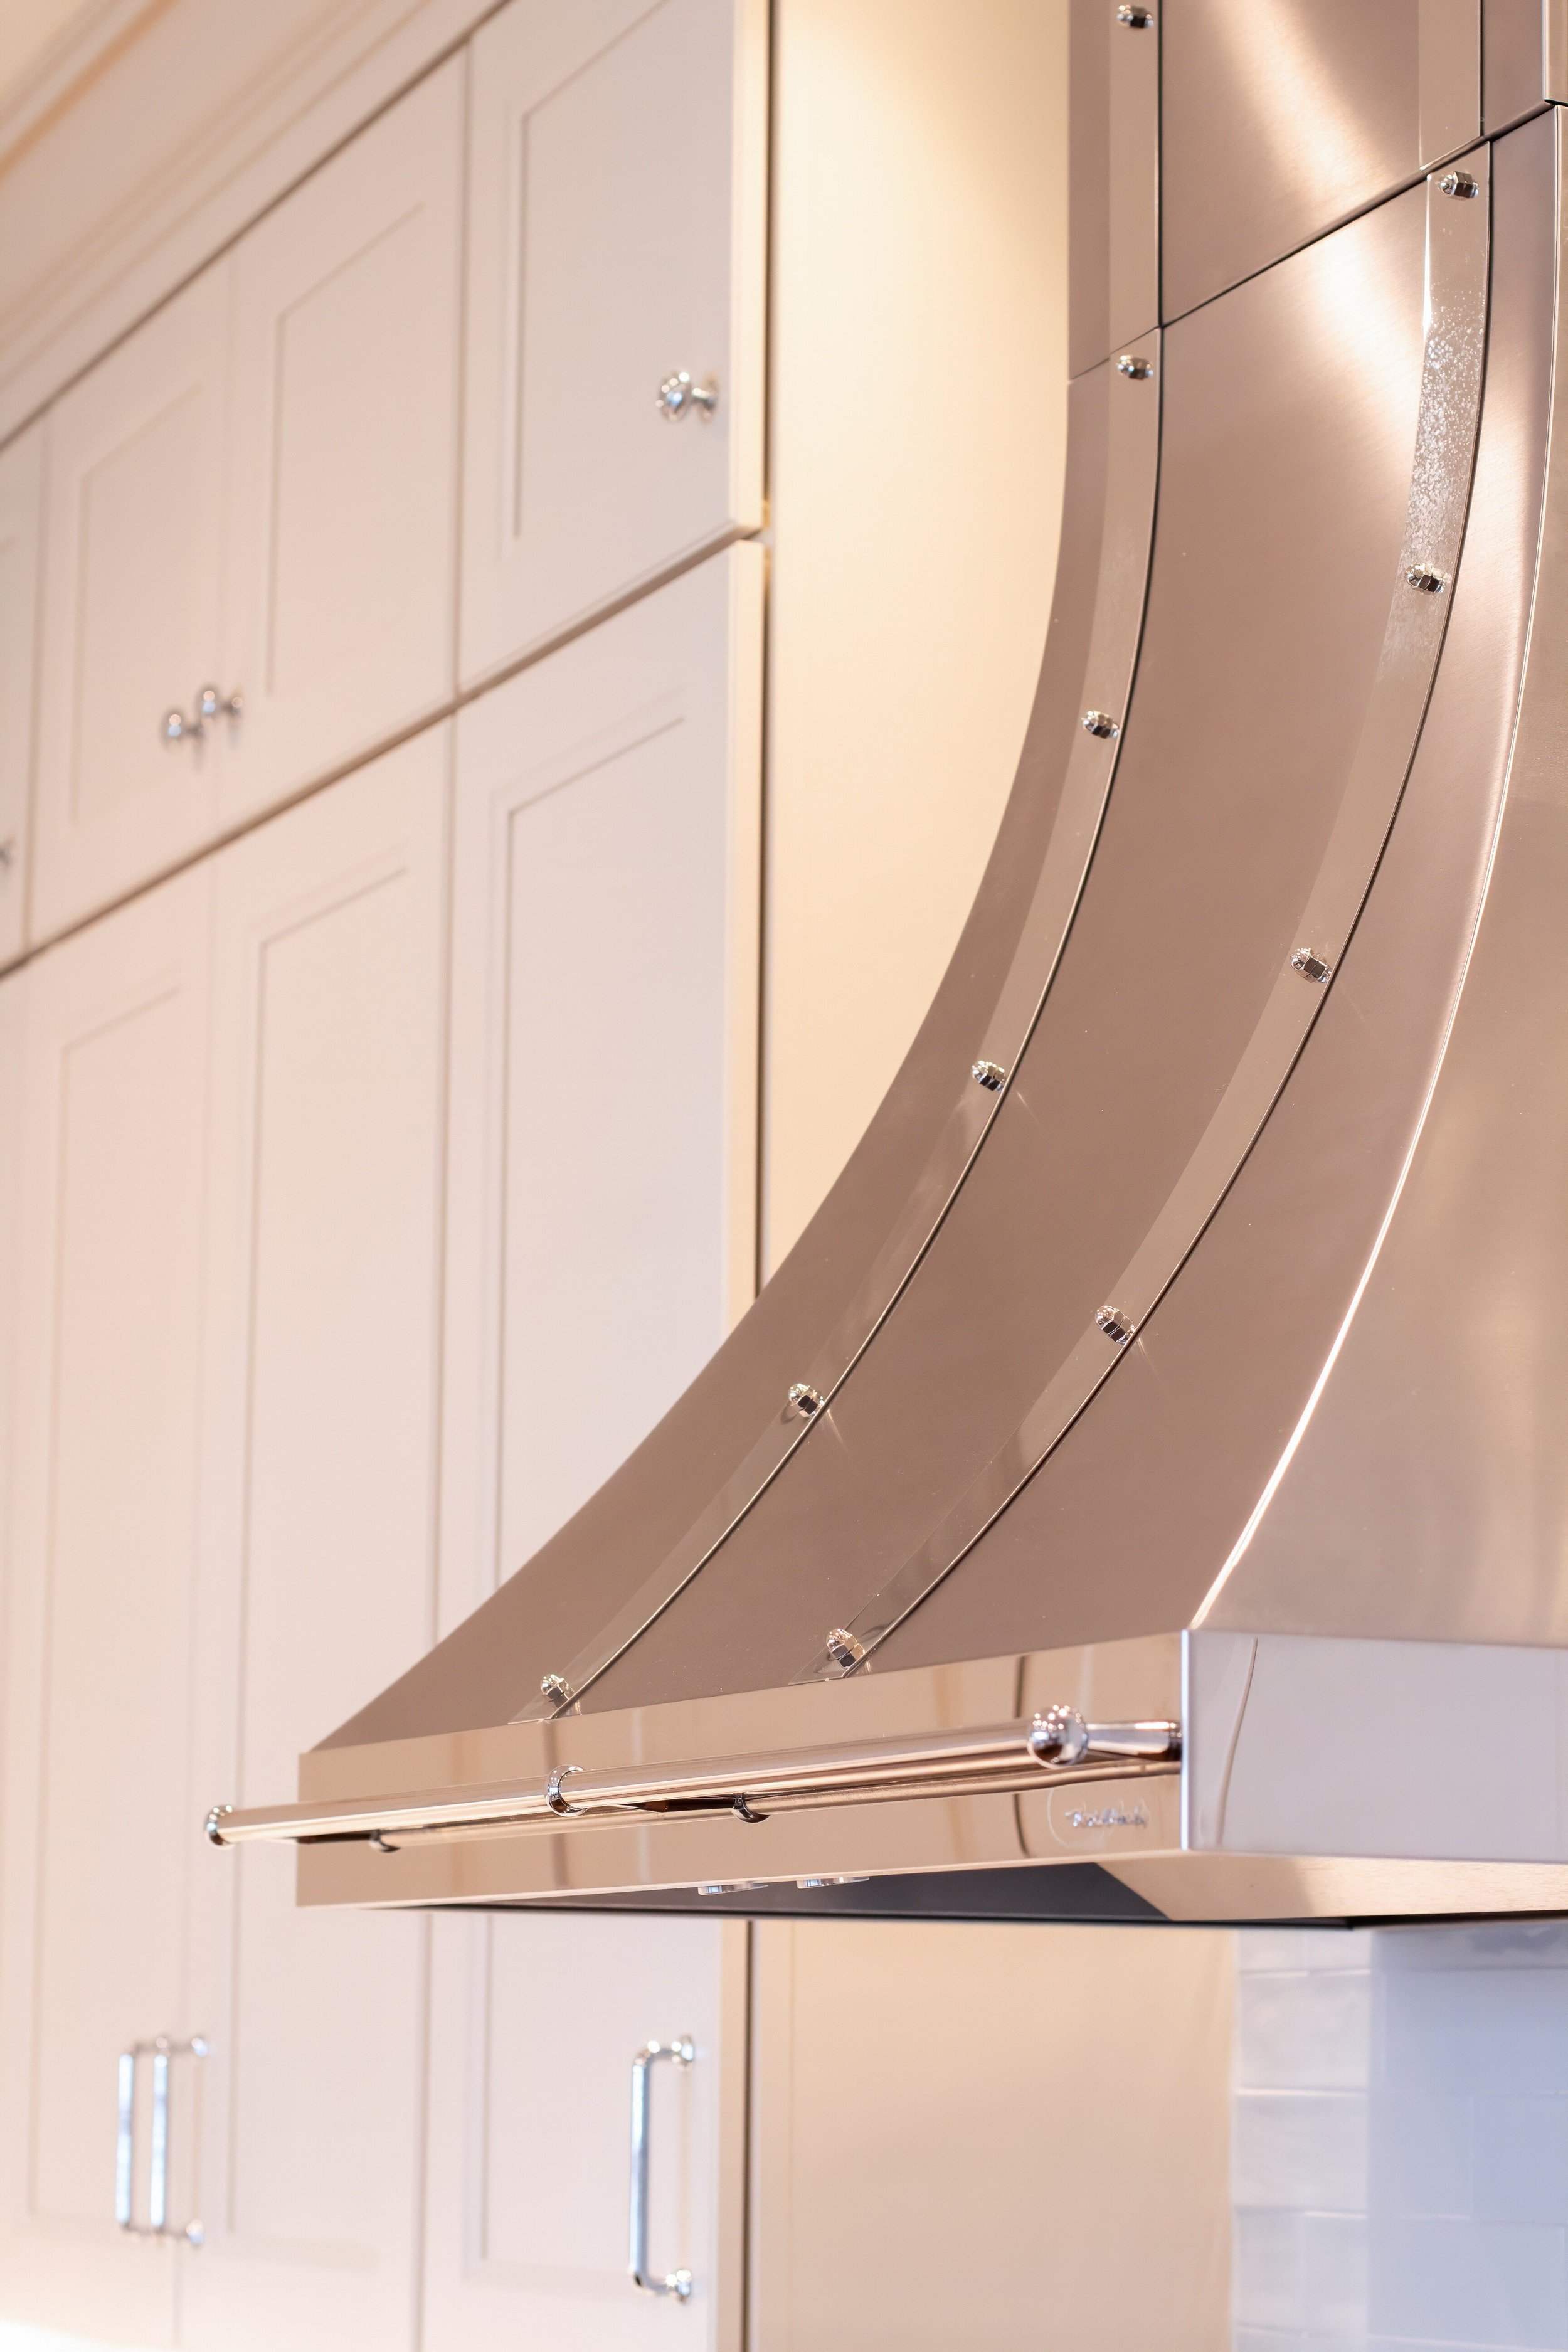
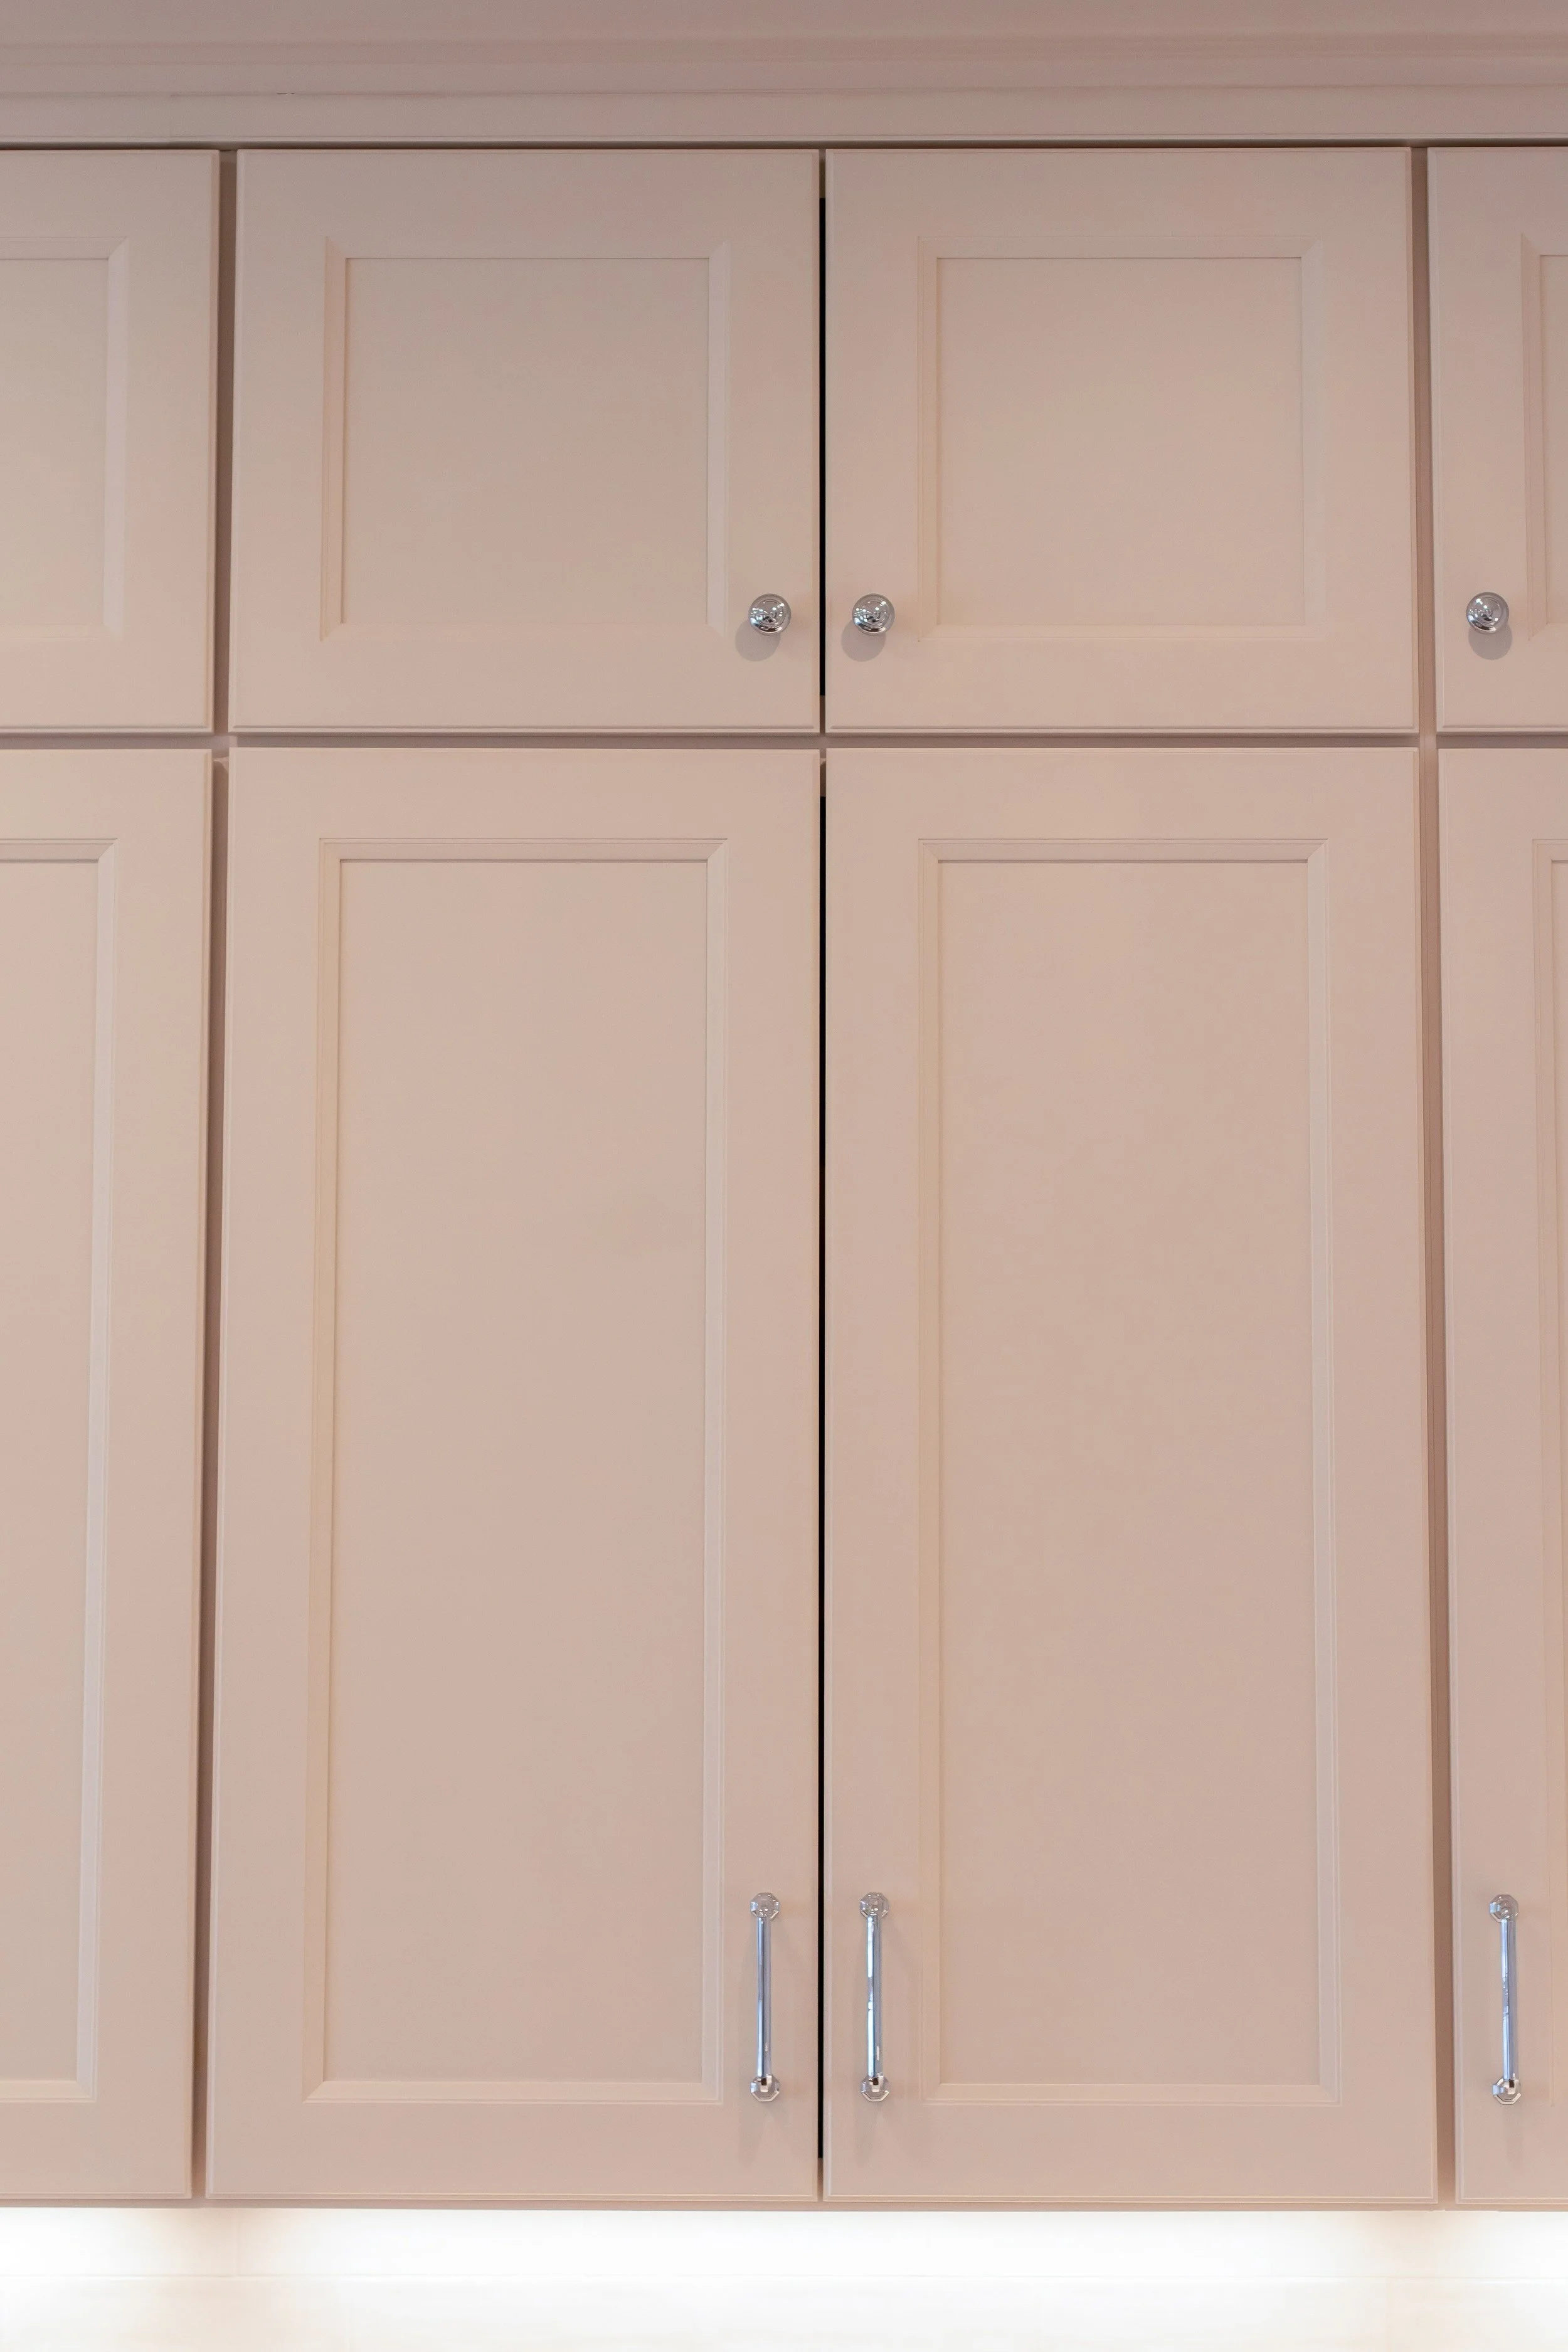
Virginia Beach, VA
Before
Before
3D Rendering
The kitchen as it stood during our first consultation was an 80’s/90’s relic, almost untouched by the decades between then and now. Picture stained oak cabinets with brass hardware, laminate countertops, linoleum flooring, a porcelain sink, and appliances that still worked but didn’t even have digital clocks. And while it was right next to the other most-used room in the house (the den), it was almost completely walled-in, connecting with only a small opening. There was one small window over the sink that let in beautiful light, but wasn’t big enough to keep the kitchen from feeling a bit like a cave. We knew we could transform it, and our client did too.
We sat down with the client to get their vision, and planned the kitchen out down to each meticulous detail. Since this is the client’s forever home and the kitchen is such a crucial and highly-used space, they wanted to make sure that every detail was perfect, down to each drawer pull and shelf. We decided to knock out the adjoining wall into the den, allowing for a much bigger connection to the rest of the house. But this meant that we needed to re-think the layout of the entire kitchen, and decide on the optimum placement for the appliances. We opted to keep the sink where it was (right below the room’s one window), but enlarge it significantly and enlarge the window, so that we could let in as much natural light as possible. They also decided to install a large island, for extra counter space, storage space, and seating space for bar seats. We painstakingly chose each material, opting for white shaker cabinets, walnut shelving, and a walnut island. White quartz countertops with natural marbling were chosen to help contrast the black sink, faucet, and cabinet pulls. Recessed can lights were chosen for above the sink and above the island, and the client also wanted to add under-counter and under-shelf lighting, which we laid out with our electrician. Finally, they chose their new appliances so we could finalize measurements and spacing.
A few features this client opted for that made the kitchen even more unique were:
An automatic under-counter trash can system, with a “tap” feature on the door handle.
A pocket sliding door between the kitchen and den, allowing for easy and smooth closure when necessary.
Pure walnut shelves in the kitchen’s corner, to display family heirlooms and meaningful serving dishes.
A bespoke coffee bar next to the refrigerator (apparently coffee is a staple for the entire family!).
All of these choices were laid out and modeled in a 3D rendering so the client could fully see and sign off on what the final product would look like. They were thrilled with the finalized model, and it was time for us to get to work.
Since the client needed to stay in the house for the duration of the remodel, it was very important to them that we created a temporary kitchen so that life could still maintain a semblance of normalcy while the kitchen and dining area was sectioned off. So for the first step of the remodel, our team created a temporary kitchenette in the living room, complete with a fridge, a toaster oven, and hot plates. We moved the sink and dishwasher in there and re-routed the water line so that everything would be functional during the transitional period. This setup is an option available for all of our kitchen remodel clients, as it allows for much less friction on the family and household during the remodeling process.


Are you ready to begin your home building or renovation project?
Give us a call at 757.689.3465 or send an email to info@bensonhomes.com to get started!